How to Deploy a Smart Contract using Remix


In this article, I’ll walk you through how to deploy a Smart Contract via remix to any EVM chain, or your Localhost. This is important when you do not want to spin up a Trufflesuiite or Hardhat project, you can simply write the Smart Contract(s) in Remix, connected to a Wallet Provider e.g MetaMask, select a network and deploy the Smart Contract to the selected network.
This approach gives you access to the Smart Contract methods which you can interact with via Remix, and the ABI which you can copy and use in building out a UI and/or verifying your Smart Contract code.
This article assumes that you already know how to write Smart Contracts. For our example, we will deploy a Simple Storage Smart Contract. This knowledge will open up your mind to the possibility of deploying multiple Smart Contracts, where possibly each Smart Contract relies on another.
To begin open up Remix in your Browser of choice, where you already have MetaMask installed.
In Remix, among the example Smart Contracts. You will find an example Simple Storage Contract:
// SPDX-License-Identifier: GPL-3.0
pragma solidity >=0.4.16 <0.9.0;

contract SimpleStorage {
    uint storedData;

    function set(uint x) public {
        storedData = x;
    }

    function get() public view returns (uint) {
        return storedData;
    }
}
It is a Simple Storage Contract that stores a number and returns the number. You can compile it and deploy it in MetaMask to interact with it.
To deploy the Smart Contract to a network outside the Remix local environment. In the ENVIRONMENT dropdown select Injected Provider - MetaMask This will give Remix access to your MetaMask wallet (Note that this does not give access to your private keys), and the network selected at the time in your MetaMask, is set as the network you will be interacting with.

Let’s begin with a local network deployed to the Ganache Blockchain.
Launch Ganache. Open a workspace and note the Network ID and RPC Server Address.

Open your MetaMask and select the option to add a Network.
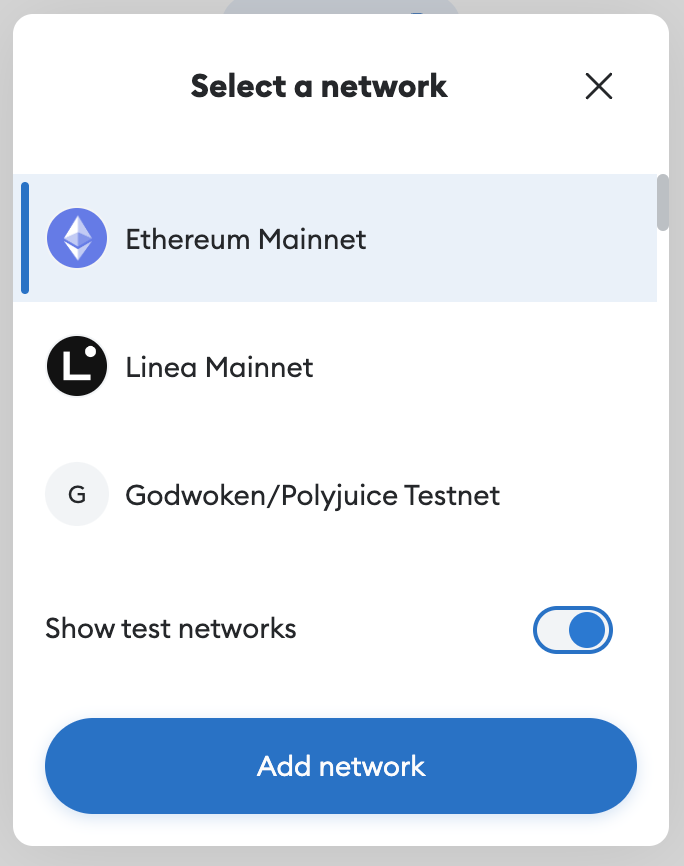
Click on Add network manually
Fill in the fields and click Save. The fields correspond with the Ganache Blockchain settings.

You can then select Localhost as your network in MetaMask, and in Remix, right under the ENVIRONMENT dropdown, you will see the network specified, and the wallet address listed as your MetaMask address. At this point it is optional for you to add an address from Ganache to MetaMask, this way you have access to test ETH with which to carry out transactions.

Compile the Smart Contract. Go to the deploy tab. When you click on deploy the Smart Contract will be deployed to the network selected in MetaMask. Wait for a few seconds, this will depend on the selected network and the confirmation time required. Once the transaction is confirmed, you will see it on the terminal, and the Smart Contract will be available for you to interact with.


If you deployed to a Blockchain network away from localhost, you can copy the transaction hash and paste it into the explorer of the network where the Smart Contract is deployed and you will find it.
You can deploy any Smart Contract, or even multiple Smart Contracts using this approach. Always ensure that you have the native token of the particular network you are deploying to, for Gas Payment.